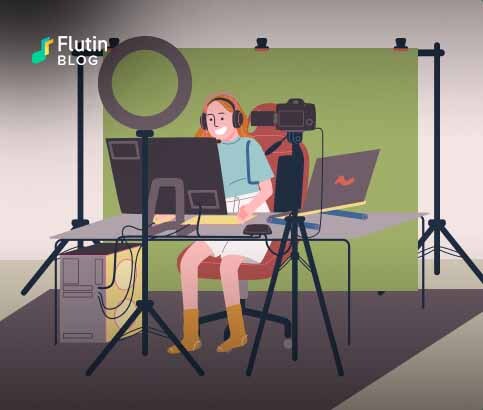
In the digital age, live streaming has become an integral part of online content creation. Whether you are a gamer, a vlogger, an educator, or an entertainer, OBS Studio (Open Broadcaster Software) offers you the ultimate solution for live streaming, providing an interactive and engaging way to connect with your audience in real-time.
One of the most popular and powerful tools in the market, OBS Studio (also known as OBS software), empowers content creators with the ability to capture, record, and live stream their content to various platforms such as Twitch, YouTube, Facebook Live, and more. In this guide, we will explore how to use OBS Studio for live streaming, its features, and the steps to set up your first live stream.
What does OBS Studio mean?
OBS Studio, also known as OBS software or Open Broadcaster Software, is an open-source and free streaming application that allows users to capture, record, and live stream content to various platforms like Twitch, YouTube, Facebook Live, and more. Another popular variant is Streamlabs OBS, a user-friendly version of OBS Studio that comes with additional features and integrations.
What are the features of OBS Studio?
Certainly! OBS Studio (Open Broadcaster Software) is a powerful and feature-rich open-source software designed for live streaming and content creation. Let’s delve into the key features of OBS Studio:
1. Scene Management: One of OBS Studio’s core features is its scene-based system. Scenes are like different setups that allow you to organize your sources efficiently. Sources can be anything you want to capture or display in your live stream, such as webcams, images, media files, browser windows, or even other scenes. This scene-based approach enables content creators to seamlessly switch between various layouts during a live stream, making their broadcasts more dynamic and engaging.
2. Source Options: OBS Studio supports a wide range of source options, making it incredibly versatile for content creators. Some of the most common source options include:
- Display Capture: This allows you to capture and broadcast your computer screen, making it perfect for showcasing gameplay, software tutorials, or presentations.
- Window Capture: It enables you to capture and stream a specific application window, ideal for showing individual software or content.
- Video Capture Device: This option allows you to add webcams or external cameras as sources for your live stream.
- Image and Media Files: You can add images or videos to your scenes, making it easier to display graphics, logos, or pre-recorded content during your live stream.
- Browser Source: The browser source lets you incorporate web pages or web-based content directly into your live stream, enabling dynamic overlays and widgets.
3. Real-time Transitions: OBS Studio provides seamless scene transitions during live streaming. With a selection of transition effects, content creators can switch between scenes smoothly, giving their audience a polished and professional viewing experience. These transitions can be customized based on the content and theme of the live stream, adding a touch of creativity to the broadcast.
4. Audio Mixing: Audio is a crucial aspect of live streaming, and OBS Studio offers robust audio mixing capabilities. Content creators can add multiple audio sources, such as microphones, desktop audio, or music, and control each source’s volume independently. This flexibility allows for the creation of the perfect audio balance, ensuring that the audience can hear the streamer clearly without overpowering background noise.
5. Filters and Effects: To enhance the visual appeal of your live stream, OBS Studio comes with various filters and effects. You can apply color correction, chroma keying (green screen), blur, and other visual filters to improve the overall quality of your broadcast. These filters can be used to refine webcam footage, optimize screen captures, or add artistic flair to your content.
6. Streamlined Settings: OBS Studio offers comprehensive settings to optimize your live streaming experience. Some of the key settings include:
- Output Settings: You can customize the streaming bitrate, encoder, and video resolution to match your internet connection’s capabilities and the requirements of your streaming platform.
- Video Settings: Here, you can set the base and output resolutions, frame rate, and adjust other video-related options to ensure smooth and high-quality streaming.
- Audio Settings: OBS Studio lets you choose your preferred audio devices and configure audio monitoring to ensure that your audio levels are balanced and consistent.
7. Studio Mode: OBS Studio features a Studio Mode that allows content creators to preview changes before applying them to the live stream. This mode can be particularly helpful for more complex setups, as it enables you to fine-tune your scenes and sources without affecting the live broadcast until you are ready.
8. Multiplatform Support: OBS Studio is available for Windows, macOS, and Linux, making it accessible to a wide range of users across different operating systems.
How do I set up OBS for live streaming?
Setting up OBS Studio for live streaming may seem daunting at first, but with this step-by-step guide, you’ll find the process straightforward and manageable. Follow these instructions to get your OBS Studio ready for live streaming:
Step 1: Download and Install OBS Studio:
To begin, visit the official OBS Studio website at https://obsproject.com/ and download the latest version suitable for your operating system (Windows, macOS, or Linux). Once the download is complete, follow the installation instructions provided by the installer. After installation, launch OBS Studio.
Step 2: Configure OBS Settings:
Before you start live streaming, it’s essential to configure OBS settings to ensure your stream runs smoothly and meets your requirements. Here’s how to do it:
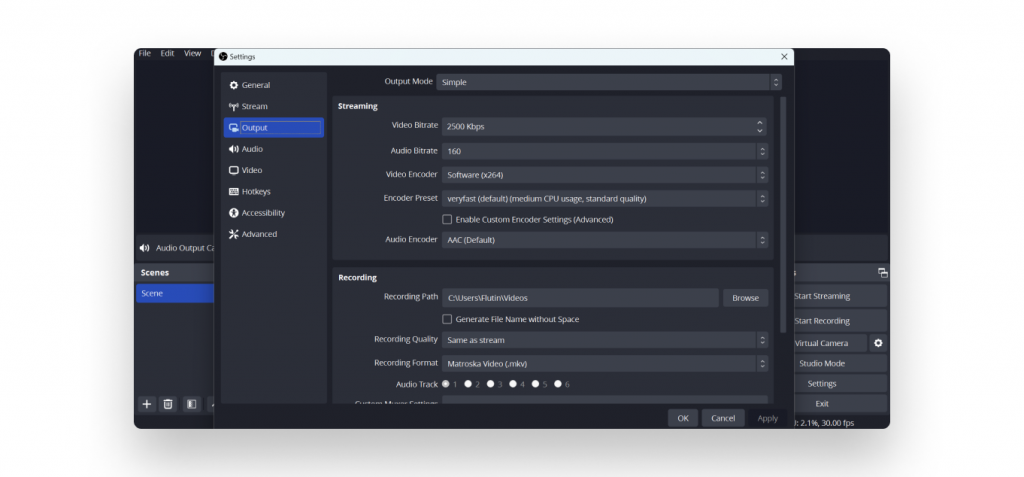
A. Output Settings: Click on the “Settings” button located at the bottom right corner of the OBS Studio window. In the Settings window, navigate to the “Output” tab. Here, you’ll find settings related to your stream’s video and audio output.
- Streaming: Select the “Output Mode” as “Simple” or “Advanced.” In most cases, “Simple” will suffice for beginners. Next, choose your preferred streaming service from the drop-down menu. Popular platforms like Twitch, YouTube, and Facebook Live are available options.
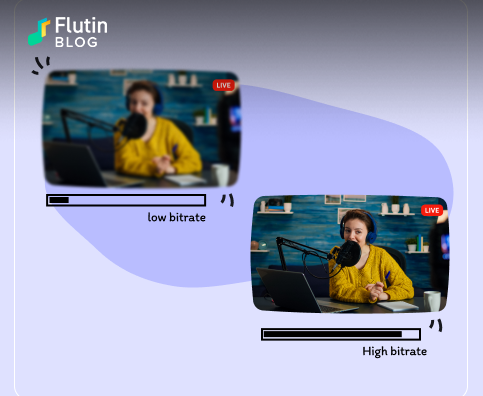
- Bitrate: This is the amount of data transmitted per second in kilobits per second (Kbps). It is crucial to set an appropriate bitrate that matches your internet upload speed. For example, if your upload speed is 5 Mbps, a safe bitrate would be around 3000 Kbps.
- Encoder: OBS Studio provides different encoders, such as x264 (CPU) and NVENC (NVIDIA GPU). If your computer has a capable graphics card (NVIDIA GTX series or newer), you can use NVENC for improved performance.
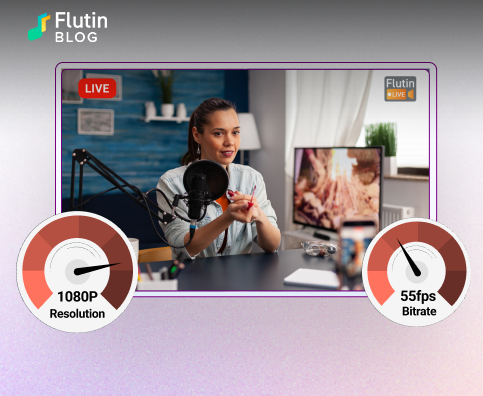
- Video Resolution: Set your base and output resolution. The base resolution should ideally match your monitor’s resolution, while the output resolution determines the quality of your stream. A common choice is 1280×720 (720p) for smoother streaming.
B. Video Settings: In the “Video” tab, you can fine-tune your video settings further.
- Base (Canvas) Resolution: As mentioned earlier, this should match your monitor’s resolution.
- Output (Scaled) Resolution: This is the resolution that OBS will output to your streaming platform. Again, a popular choice is 1280×720 for 720p streaming.
- Downscale Filter: OBS Studio offers different downscale filters (e.g., Bicubic, Lanczos), which affect the quality of the downscaling process. “Lanczos” is often recommended for sharper results.
C. Audio Settings: Navigate to the “Audio” tab to configure your audio settings.
- Sample Rate: It is advisable to use a sample rate of 44.1 kHz, as it is widely supported across platforms.
- Channels: Select the appropriate audio channel configuration based on your setup (e.g., Stereo, 5.1 Surround).
- Desktop Audio Device and Mic/Auxiliary Audio Device: Choose the audio sources you want to use for your live stream. Usually, “Desktop Audio” captures the sounds from your computer, while “Mic/Aux” captures your microphone.
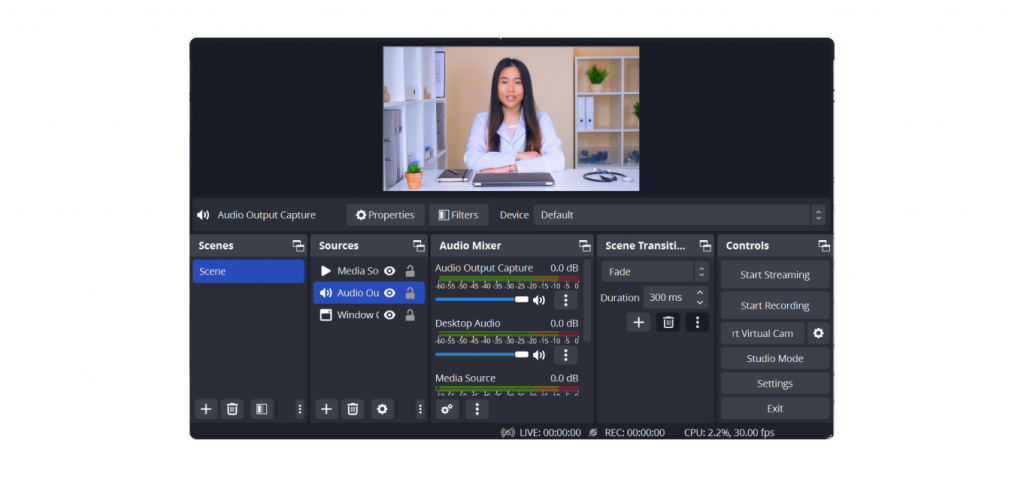
Step 3: Create Scenes and Sources:
Scenes in OBS Studio are like different layouts or setups, each containing various sources (video, audio, images, etc.). To create a scene:
A. Scene:
In the bottom-left section of OBS Studio, click on the “+” button under the “Scenes” box, and give your scene a descriptive name (e.g., “Starting Soon,” “Gameplay,” “Webcam Only”).
B. Sources:
With your scene selected, click on the “+” button under the “Sources” box to add sources to the scene. For example, to add a webcam, choose “Video Capture Device,” and select your webcam from the list. You can add other sources, such as display capture, images, browser sources, etc., by selecting the appropriate options.
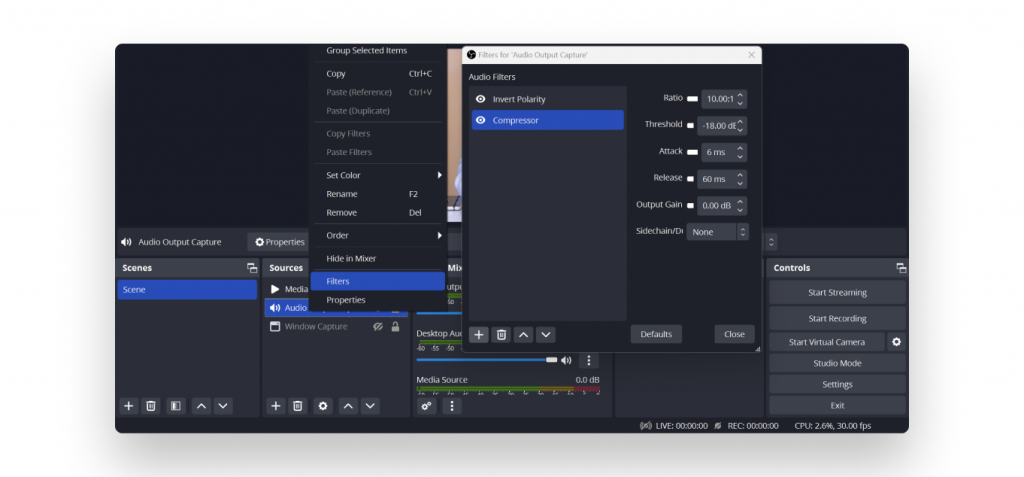
Step 4: Arrange and Customize Sources:
After adding sources to your scene, you can click and drag them on the canvas to reposition them. Use the red handles around sources to resize or crop them as needed. To apply filters or effects to a source, right-click on it, and select “Filters.” Here, you can enhance the visual appeal of your sources with various adjustments.
Step 5: Test Your Stream:
Before going live to your audience, it’s essential to test your stream settings. To do this, click on “Start Streaming” (located at the bottom-right corner) and set your streaming platform to “test” or “private.” This will allow you to check if everything looks and sounds as expected, giving you an opportunity to make any necessary adjustments without your viewers seeing any errors.
Step 6: Starting Your Live Stream with OBS Studio
Once you are confident that everything is set up correctly, change your streaming platform setting to “public” or “live,” and hit the “Start Streaming” button. OBS Studio will begin encoding and sending your content to the selected platform, allowing you to connect with your audience in real-time.
How do I start streaming on OBS using Flutin
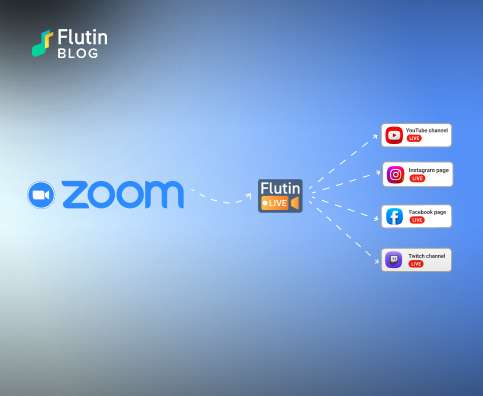
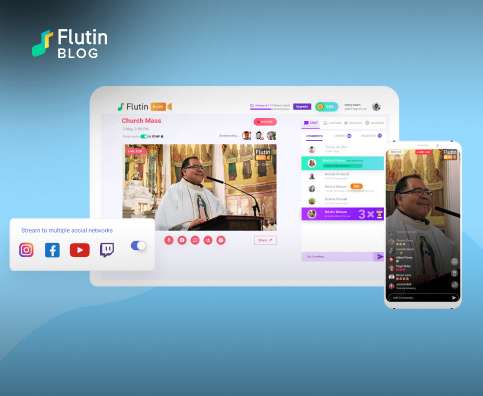
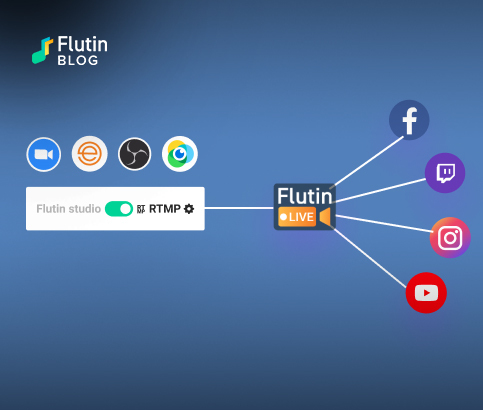
Although OBS Studio doesn’t natively support live streaming to multiple platforms simultaneously, there’s a clever workaround! By using Flutin, you can effortlessly broadcast your content to various platforms all at once. Here’s how to set it up:
Get OBS Studio Ready: Open OBS Studio on your computer and ensure that your scenes and sources are set up to create the perfect layout for your live stream.
Create account on Flutin: If you haven’t done so already, sign up for a Flutin account by visiting their website.
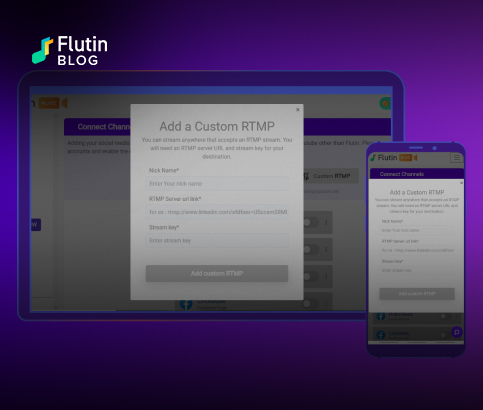
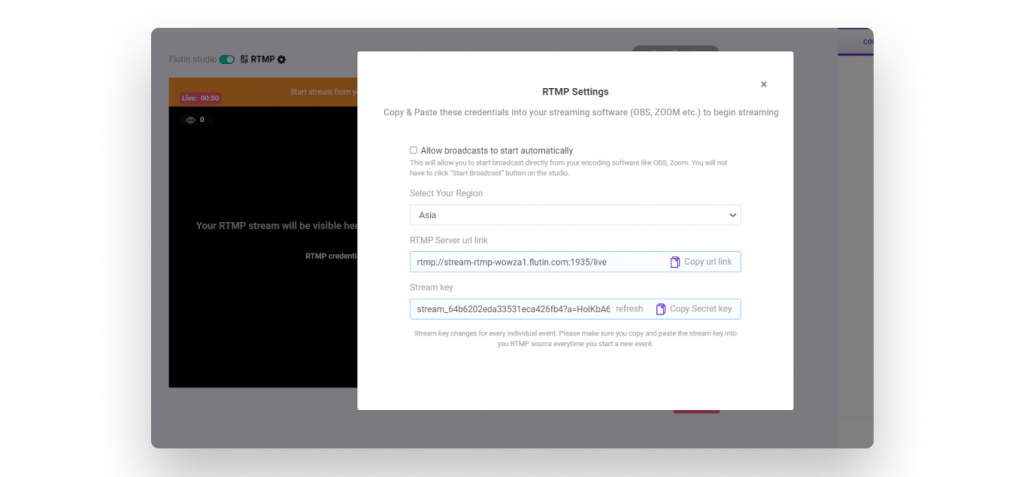
Get Flutin Stream Key: Firstly, visit the Flutin Live Studio platform. Once there, you’ll find a toggle with the RTMP icon, just above the live studio screen. Turn the toggle towards the RTMP icon to enable this feature. As a result, a pop-up will appear, displaying an URL and Secret Key. Make sure to copy both the URL and Secret Key.
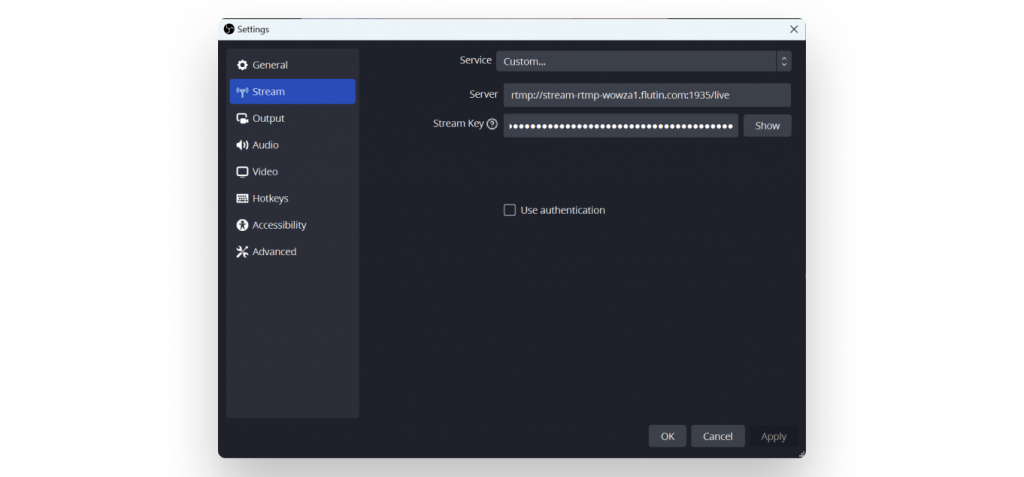
Paste Your Flutin Stream Key: Back in OBS Studio’s Stream settings, paste the Flutin Stream Key into the designated field.
Apply and Save: After pasting the Stream Key, click the “Apply” button, followed by “OK” to save your changes.
Start Streaming: You’re almost there! Click the “Start Streaming” button in OBS Studio, and now your content will be broadcasted to Flutin.
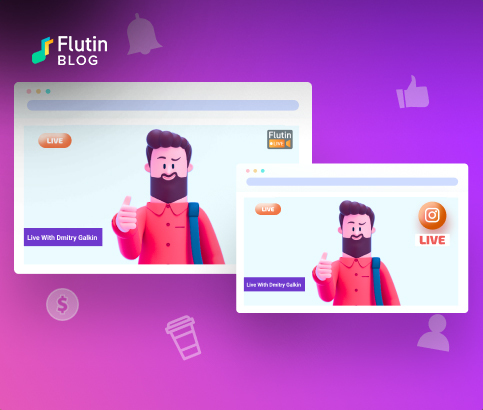
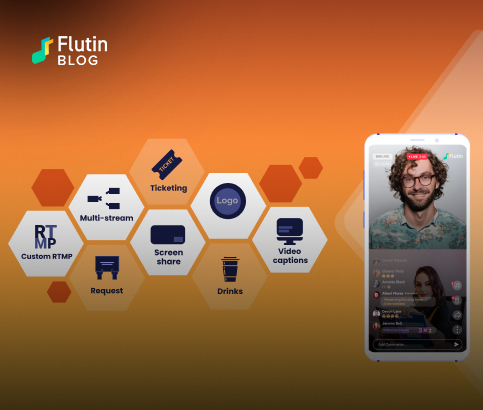
Flutin Takes It from There: Flutin will now take your stream and multistream it to the various platforms you’ve selected on their website, such as YouTube, Facebook, Instagram, Twitch, Twitter, LinkedIn, and many others.
Wrap-up
OBS Studio is an incredible tool for live streaming, providing content creators with a free and feature-rich solution to share their passion and creativity with the world. By following this step-by-step guide, you can set up OBS Studio, create engaging scenes, and go live to captivate your audience with compelling content. Whether you are a beginner or an experienced streamer, OBS Studio’s versatility and user-friendly interface make it an excellent choice for your streaming endeavors. So, get creative, go live, and make your mark in the world of online content creation!