Let us ask you one thing: do you throw away your clothes after you have worn them just once? The answer is an obvious no, right? Incurring the cost of doing so just doesn’t make much sense for an average person. Then, why should you waste your Twitch stream after the live show is over? The opportunity cost that you are incurring by not reusing your Twitch stream will make you rethink your whole strategy. But, don’t worry: that’s where we have you covered. Here’s a complete guide on reusing your streams on Twitch to maximise your reach and gains.
If you have been letting your Twitch stream get old in your archive without letting them work for you, then we are here with this piece to save the day. Whether you are famous on Twitch or not, you can always repurpose your streams on Twitch and use them to widen your reach on every social media platform you can think of. In fact, the Live Content Exclusivity policy on Twitch prohibits Twitch affiliate streamers from broadcasting the same content on another platform within the same 24-hour period. Does this imply that you have to brainstorm new ideas if you want to stream on Facebook or YouTube? Absolutely not. Streams from Twitch can be reused on other platforms without the extra effort.
How can you reuse Twitch stream?
It is easy to reuse your incredible Twitch content across multiple channels : which saves you time and increases engagement across all platforms. Here’s how to do it in two seamless steps with Flutin.
1. Saving Twitch stream
You cannot possibly do anything with your streamed videos if you don’t have them saved for further use. This is why Flutin allows its users to save their streams regardless of which platform they are streaming to.
Once you go to Flutin Studio and begin your stream, you will find a toggle at the top of your live video screen which can be turned on to save your stream. After you are done with your live, you can find the saved stream in your video library. From here, you can download your stream for future use.
2. Using your saved Twitch stream as pre-recorded videos to broadcast
Once you have your Twitch stream saved in your account and downloaded, you can treat them just like any pre-recorded video and upload them on Flutin to broadcast them on different social media platforms to capture more audience. Here’s how you can schedule pre-recorded videos to broadcast live on multiple platforms.
Step 1: There are two things you can do with your saved Twitch stream. One way is to broadcast the whole live video as it is to other platforms. The second way is to download the saved stream, make highlight videos or any other video format of your choice, and re-upload them in the video library section in Flutin.
Step 2: Once you have the desired videos in your video library section, you can click on the “Schedule Live” button to the right of the video you want to broadcast. If you want to select more than one video, you can do so from the “Select Video” drop down and arrange them in the sequence you’d like.
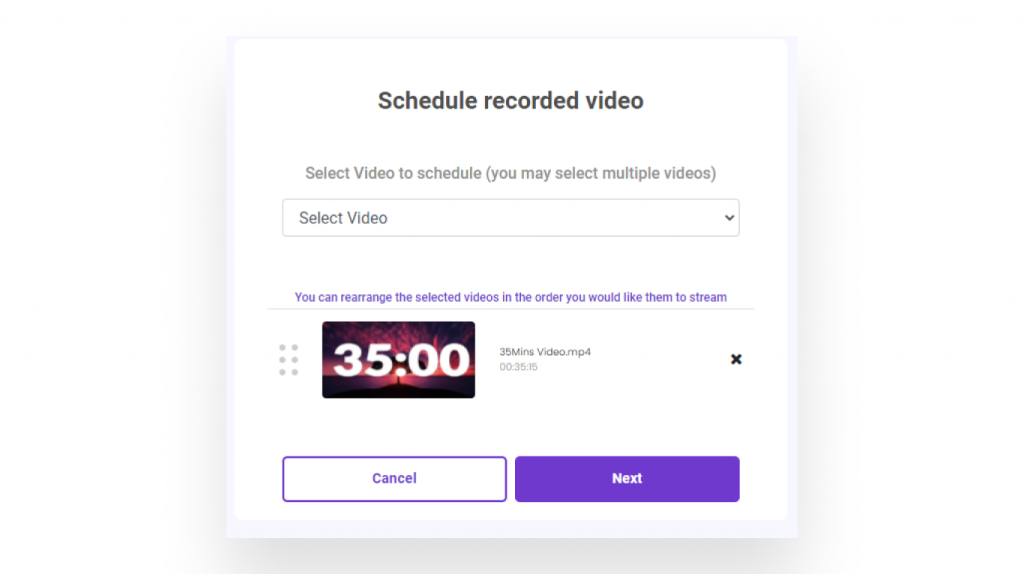
Step 3: Click on the “Next” button and fill in the event details on the next page (like event name, description, date, time, tags, etc.).
Step 4: Click on the “Save Event” button. The next page would allow you to edit other relevant aspects of the stream such as monetization methods, multistreaming channels, etc. You can also edit the event details on this page.
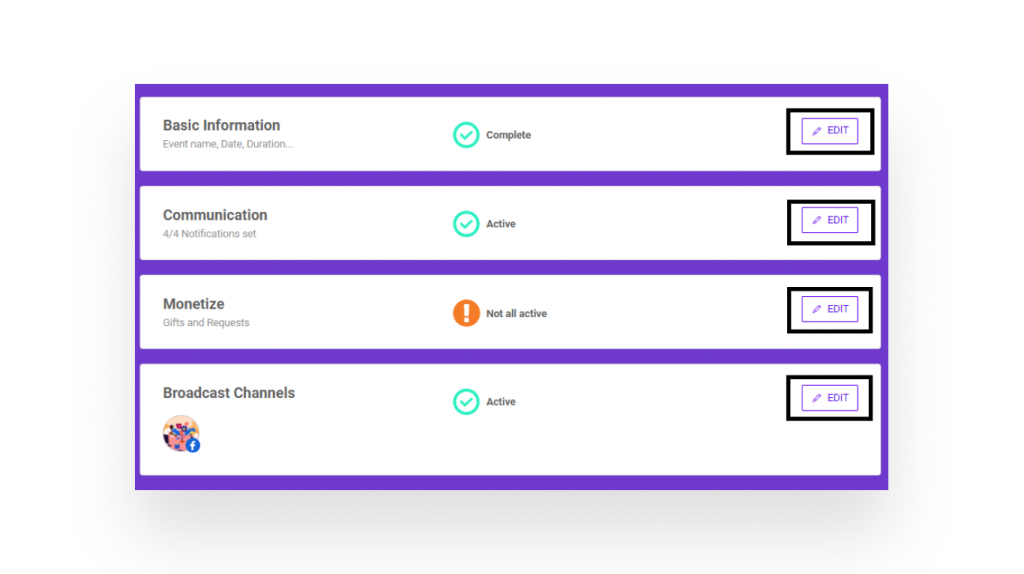
Step 5: Click on the “Save and Publish” button once done and you’re good to go. Your event will be scheduled!
How can you repurpose your Twitch stream?
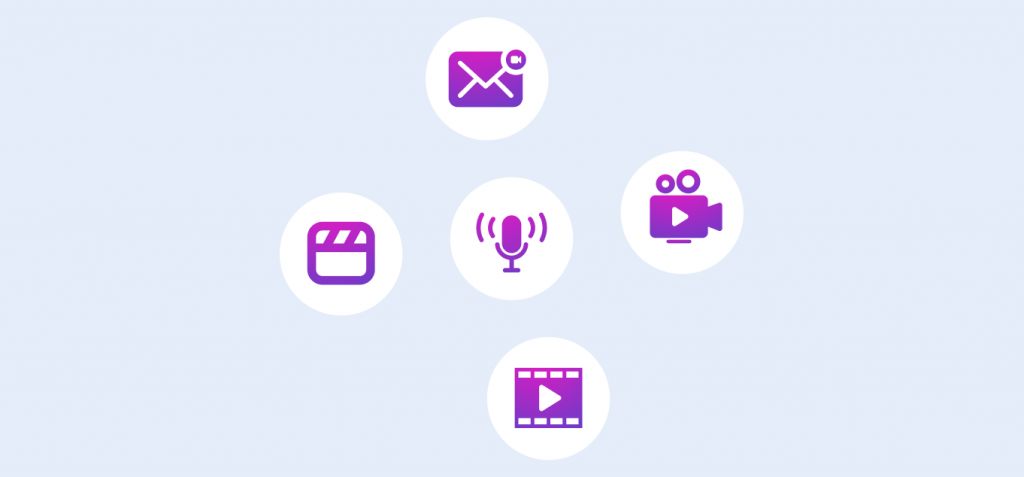
You can repurpose your recorded Twitch stream for your social media accounts, website, or blog in addition to broadcasting them on other live streaming platforms. Below are some of the most popular ways to repurpose live videos.
1. Video on Demand (VOD)
You can publish your Twitch stream as a video on demand (VOD) instead of scheduling it to go live again on YouTube and Facebook. Upload the stream to your YouTube channel to increase views by shortening it, fixing any mistakes, and removing long pauses.
2. Teaser Reel
You can take parts of your live stream (preferably the fun ones) and piece them together as a 60-second teaser video/reel. You can then post this on your Instagram account to draw more people to your channel and make them anticipate your next live session.
3. Podcasts
Make a podcast out of your Twitch stream. For this, good audio quality is important, as well as the removal of “live” moments such as silence, background noise, or volume jumps. You can then pull out only the audio from the recording, edit it into a rhythmic pattern that creates a flow and release it on platforms as a podcast.
4. Videos for Email Campaigns
An email copy can also be used to verify the information in the live video by repurposing it. Creating small clips from live videos gives you a number of opportunities to engage your audience. However, as important as the video content is, so are all the components of the email marketing campaign, such as catchy subject lines, attractive information, video thumbnails, and graphics.
5. Mash-up Videos
The length of a video doesn’t matter as long as it provides value to the viewer. The best clips from your live streaming content can even be compiled into a mash-up video. Mash-up videos are pretty straightforward to make. Combine the clips using video editing software after downloading the live streams. You can even add fun background music to it to make it more interesting.
This was all that we had for you to help you use your past streams as a means to grow your name in the live streaming industry. Head over to Flutin to try these tips out yourself.
Related Topics:
- How to gain twitch followers & build a strong presence
- Instagram live for businesses
- Must known tips to revamp your Facebook live stream
Join our official streaming community and get tips to improve your social presence, hacks to increase brand engagement and generate more revenue.